 Vík Northern Lights
How to Photograph the Northern Lights Near Vík
Most people searching how to photograph the northern lights are holding a phone, not a camera, and the phone answer is simpler than the internet makes it sound: night mode, a brace, and a few seconds of patience. A camera collects light over several seconds and a human eye does not, which is why a display that looks like a faint grey smudge overhead often shows up bright green on a screen the moment the shutter closes. Vík adds a genuinely useful detail most guides for the country skip: where to watch the northern lights in Vík covers three dark spots inside the village itself, so the shot doesn't require driving anywhere once the sky is clear.
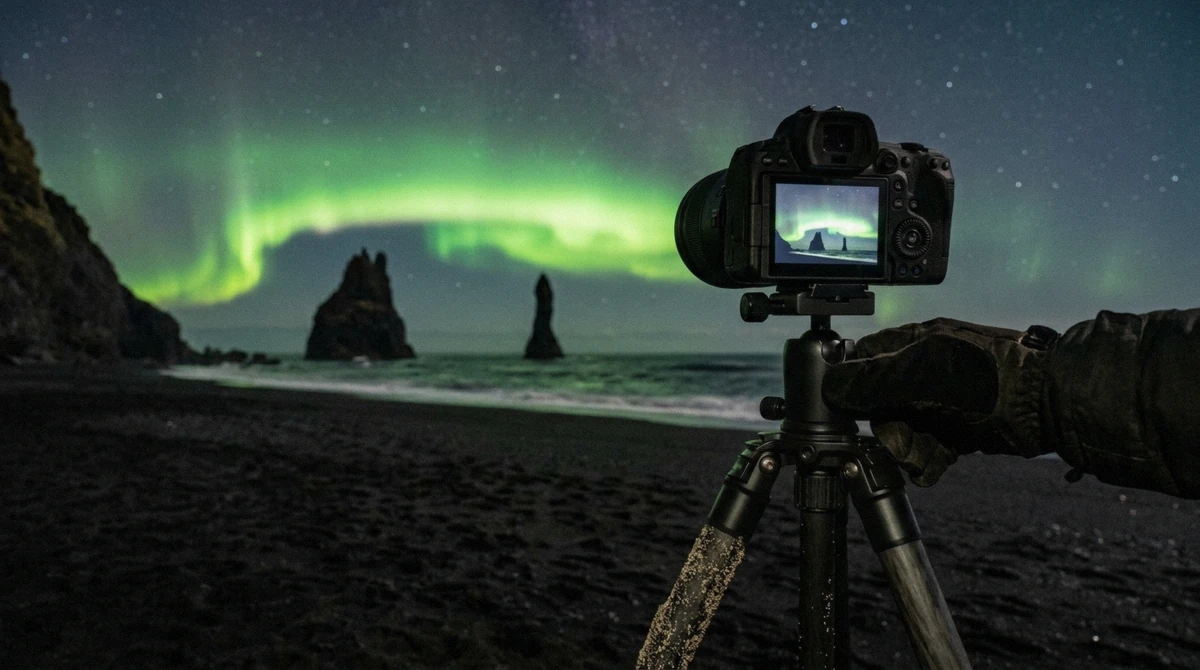
Quick answer
A phone shot in night mode, braced against something solid for 3 to 10 seconds, captures a usable aurora photo on most recent models. A camera does better with manual mode, f/2.8 or wider, ISO 1600 to 3200, a 5 to 15 second exposure and manual focus set to infinity, shot in RAW. Either way the reason the sky looks brighter in the photo than to the naked eye is simple: the sensor gathers light over several seconds and the eye doesn't, so a faint grey band overhead reads as green once the exposure finishes.
Key takeaways
- Phone: night mode, braced or on a tripod, 3 to 10 second exposure gets a usable shot on most recent models
- Camera starting point: f/2.8, ISO 1600 to 3200, 5 to 15 seconds, manual focus at infinity, full settings below
- Grey to your eye photographs green on screen because a sensor collects light over seconds and your eye doesn't
- Víkurfjara puts the Reynisdrangar sea stacks in the frame; Reynisfjara around the headland is the one to avoid after dark
- A fast-moving display needs a shorter exposure or it smears into a flat green wash
- The Katla ice cave tour and south coast day both finish before dark, leaving the whole evening free for photography
Tours That Get You Somewhere Photogenic
None of these run an evening aurora departure from Vík itself, but each puts you in a photogenic spot before dark or frees your evening for it.
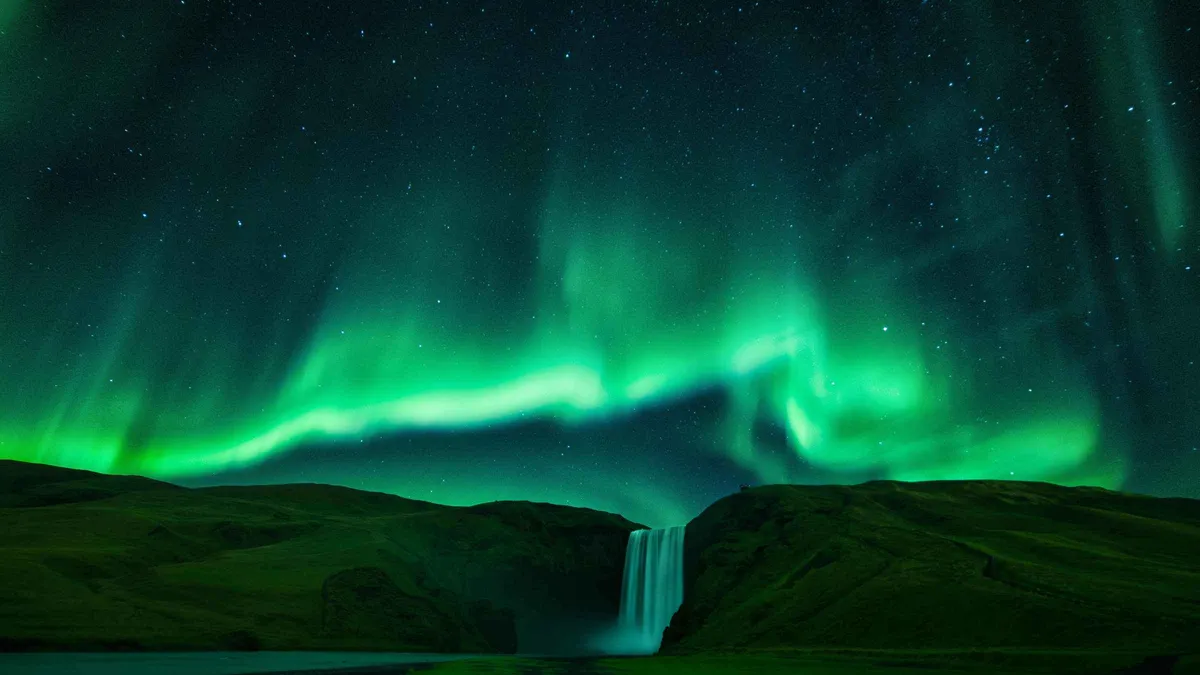
South Coast and Northern Lights Tour
Vík by daylight, aurora after dark from Reykjavík. The 13 hours split into a south coast day and a roughly 3-hour northern lights section that leaves the BSÍ terminal in the evening, so the sky you watch is over the capital region, not the black beach.
- Cancellation
- Free cancellation 24h
- Operator
- Gray Line Iceland
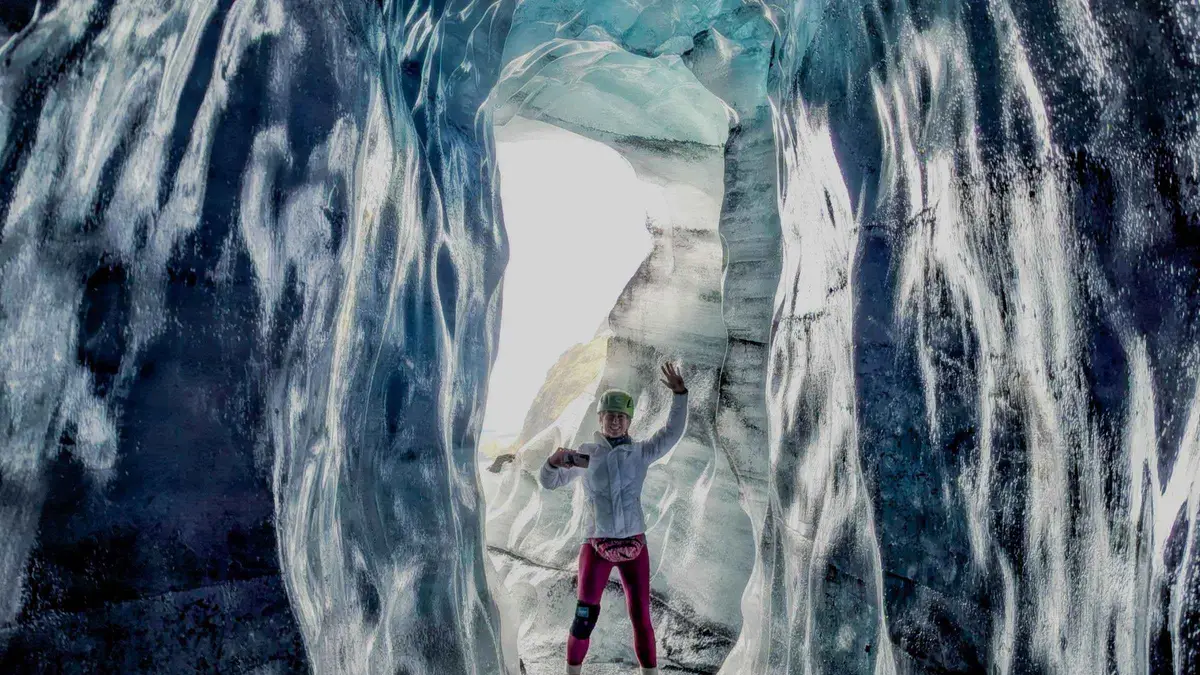
Katla Ice Cave Small-Group Tour from Vík
Three daylight hours that start and end in Vík, so your evening stays free for the beach. An hour by Super Jeep each way, roughly 30 minutes inside the cave, helmets and crampons provided. Reviewers rate the guides highly and several note the cave is smaller than the photos suggest.
- Cancellation
- Free cancellation 24h
- Operator
- Gravel Travel
 from $106.34
Best reviewed
from $106.34
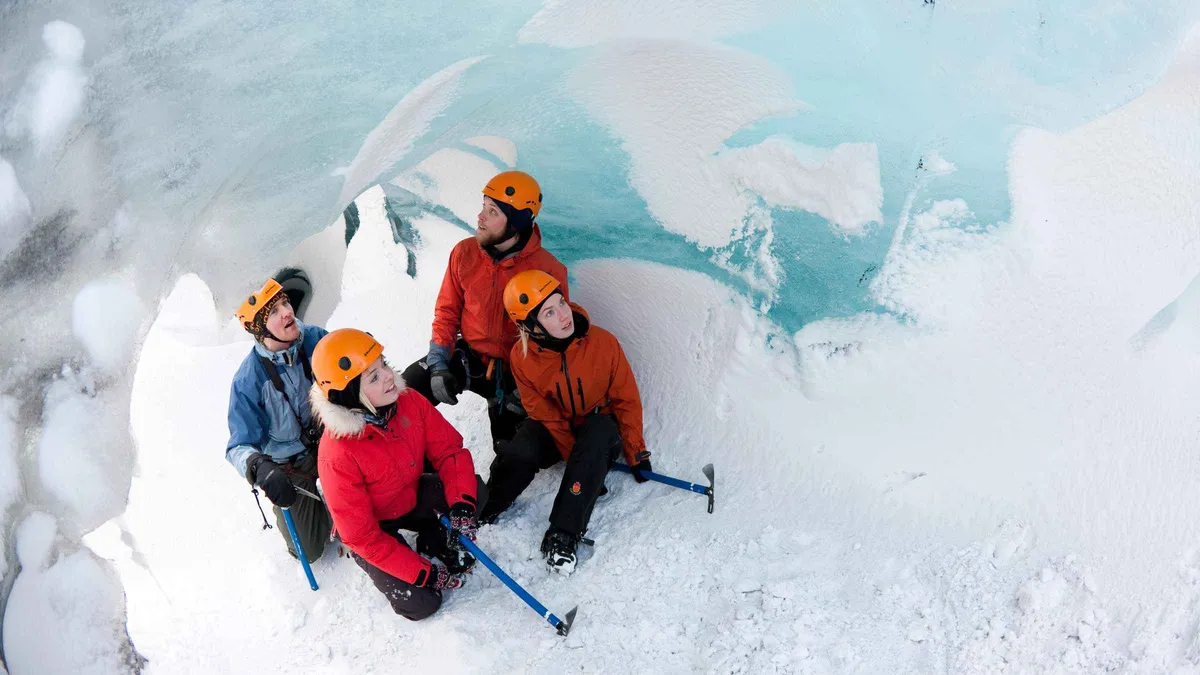
Best reviewed Sólheimajökull Blue Ice Glacier Hike
The classic south coast glacier walk, 30 minutes west of Vík and rated 4.7 from more than 1,400 reviews. Certified guides supply crampons, harness, helmet and axe, the grade is easy to moderate at roughly 6 km over 4 hours, and you meet at the glacier car park off the Ring Road. Sturdy boots with ankle support are mandatory.
- Blue ice, crevasses and moulins on the glacier 30 minutes west of Vík
- Crampons, harness, helmet and ice axe provided by certified guides
- Graded easy to moderate: about 6 km over 4 hours on the ice
- Meet at the glacier car park off the Ring Road, or add transport from Reykjavík
Phone Settings That Work Here
Night mode is doing the work
Most phones from the last few years handle aurora photography reasonably well through their built-in night mode, which automatically stretches the exposure time and stacks multiple frames to reduce noise. The single biggest factor in whether a phone shot comes out sharp is not the phone itself but whether it's held still for the full exposure, which is longer than it feels standing in the cold and wind off the sea.
Portrait or panorama modes are not built for this; leave them off and stay in the standard photo or dedicated night mode instead. If the interface offers a manual or pro mode, it usually gives more control over exposure length than the automatic night mode does, which is worth using once you're comfortable with the basics below. Avoid digital zoom entirely; it crops and upscales the same limited light the sensor already captured, and the result is softer and noisier than simply cropping the full-resolution frame afterward.
| Setting | Value | Why |
|---|---|---|
| Mode | Night mode / long exposure | Automatically stretches exposure time and reduces noise through frame stacking |
| Exposure length | 3 to 10 seconds | Long enough to gather aurora light, short enough to avoid star trails or blur from hand shake |
| Stabilization | Brace against a wall, rock or tripod | A phone held free-hand rarely stays still for a 5-second exposure |
| Focus | Tap to focus on a distant light or set to infinity if available | Auto-focus often hunts and fails in near-total darkness |
| Flash | Off, always | Flash does nothing to a sky hundreds of kilometers away and ruins night vision for everyone nearby |
| Screen brightness | Dimmed | Protects your own dark adaptation between shots |
Camera Settings That Work Here
Manual mode, starting point and why
Manual mode is the only reliable way to shoot the aurora with a dedicated camera; auto modes routinely underexpose a dark sky or overcorrect for the one bright patch of green in the frame. The starting point below works for most conditions on this coast and is meant to be adjusted from there, not followed exactly every night.
| Setting | Starting value | Why |
|---|---|---|
| Mode | Manual (M) | Auto modes misjudge a dark sky with one bright element |
| Aperture | f/2.8 or wider | Lets in the most light per second, which matters more here than depth of field |
| ISO | 1600 to 3200 | High enough to register a faint display without excessive grain at typical exposure lengths |
| Shutter speed | 5 to 15 seconds | Long enough to gather light, short enough to keep structure in a moving display |
| Focus | Manual, set to infinity | Autofocus fails in the dark; infinity focus is set once, in daylight if possible, and taped in place |
| File format | RAW | Preserves far more detail for adjusting exposure and color afterward than a compressed JPEG |
Why a fast display needs a shorter exposure
A slow-moving glow tolerates a longer exposure because it barely changes position while the shutter is open. A fast, rippling display is a different problem: hold a 15-second exposure on a display that's actively dancing and the structure smears into a flat green wash instead of showing the curtains and rays that made it worth photographing in the first place. Dropping to 3 to 5 seconds and raising ISO to compensate keeps the shape visible when the sky is moving fast.
A tripod, not a monopod, and why
A tripod is close to essential for a dedicated camera at these shutter speeds; a monopod doesn't remove the sideways sway that ruins a multi-second exposure, so it isn't a substitute here even though it works for daytime shooting. Any lightweight travel tripod that plants firmly on sand, gravel or the paved area near the church hill is enough; there's no need for anything heavier. If you arrive without one, a solid wall, a parked car roof or a large rock does the same job for a shorter exposure, which is part of why the phone settings above lean on bracing rather than a tripod as the default.
What the raw file actually looks like
A RAW file straight off the camera at these settings usually looks flatter and greener than the polished aurora photos circulating online, which are typically pushed with extra contrast, saturation and sometimes a color shift toward blue or purple in editing. That's not dishonest as long as it's disclosed, but it does mean a first-timer's unedited photo, done correctly, can look duller than expected and still be a technically good capture. A modest boost to contrast and a slight pull-down on highlights in any basic photo editor gets most of the way to what the display genuinely looked like through the lens, without inventing color that wasn't there.
Focus in the Dark
Why autofocus fails and what to do instead
Autofocus systems hunt for contrast, and a night sky with nothing but stars and a faint green band gives them almost nothing to lock onto. The fix is manual focus set to infinity, ideally dialed in while there's still light in the sky so you can confirm a distant object, like the church hill or a light on the horizon, is genuinely sharp before the sun goes down. Once it's set, a small piece of tape over the focus ring stops it from drifting if the lens gets bumped in the dark.
If you arrive after dark with no daylight reference, focus on the brightest star or a distant house light using live view zoomed in, then leave the setting alone for the rest of the session.
Where to Stand in Vík for the Frame
Víkurfjara: the sea stacks in frame
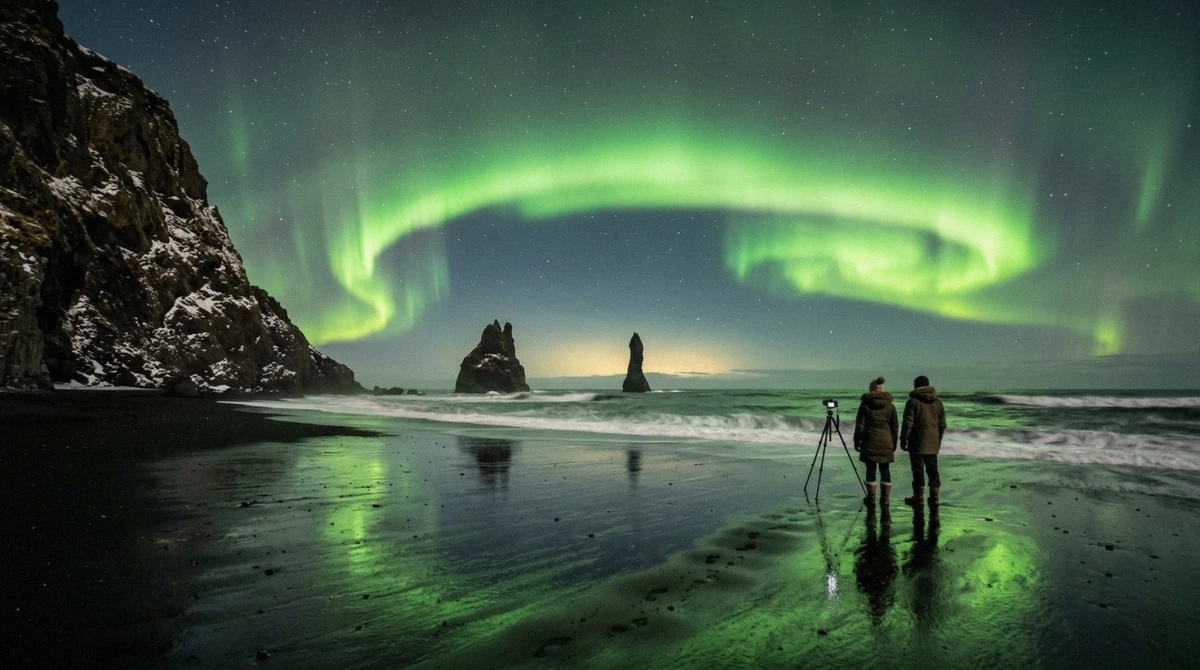
Víkurfjara black sand beach, five to ten minutes on foot from most accommodation in the village, puts the Reynisdrangar sea stacks in the frame as a dark silhouette against the sky, which gives an aurora photo a foreground element rather than an empty horizon. The gravel car park offers a flat, easy stance for a tripod. One safety note carries over from the general viewing guide and matters just as much for photography: Reynisfjara is a different, more dangerous beach a short drive away, and it is never a night spot, for photography or otherwise.
The church hill: the village under the sky
The elevated ground at Víkurkirkja, about ten minutes uphill from the village center, trades the sea stacks for the red roof of the church itself sitting under the sky, along with a wider view over the rooftops of Vík. It also catches less wind than the open beach, which matters for holding a long exposure steady, though the path can ice over in winter and is worth walking carefully in the dark. For more on the full range of viewing spots in Vík, including timing and forecasting, see the main guide.
Behind the N1: fastest, least composed
The ground behind the N1 station, about two minutes from the village center, is the fastest option for a quick sky check but offers the least in the way of foreground interest. It works well for confirming a display is happening before walking further to the beach or the church hill for a more composed shot.
Timing the walk against the display
None of these three spots gets meaningfully crowded; Vík's own resident count is small and most visitors watching from the village are staying in one of a handful of properties nearby, so competing for a tripod spot on the beach or the church hill is rarely the problem it is at a famous single viewpoint elsewhere in the country. The real timing issue is the walk itself: by the time a phone alert or a glance out a window confirms a display is starting, a five-to-ten-minute walk to Víkurfjara can mean missing the brightest part of a short, fast-moving show. Checking behind the N1 first, then deciding whether to commit to the longer walk, is the practical compromise most nights call for.
What Ruins the Shot
Camera shake
A multi-second exposure amplifies any movement, and hand-holding a camera for 5 to 15 seconds virtually guarantees a blurred result. A tripod is close to essential for camera work; a phone braced firmly against a solid surface can substitute for the shorter exposures phones typically use.
Cold batteries
Cold drains camera and phone batteries noticeably faster than room temperature does, sometimes cutting a fully charged battery's runtime by half over a long session outdoors. Keep spares in an inside pocket, close to body heat, and swap them before the working battery dies rather than after, since a battery that dies mid-session in the cold can be slow to revive even after warming up.
Losing your night vision
Checking a bright phone screen between shots resets the roughly twenty minutes of dark adaptation your eyes need to actually spot a faint display in the first place. A red light, or simply dimming the screen as far as it goes, protects that adaptation. This matters more for spotting the aurora at all than it does for the camera settings themselves; plenty of displays are missed entirely because someone's eyes never adjusted to the dark.
Shooting through a window or from a moving vehicle
Glass introduces reflections and a soft focus that ruins a long exposure, and any vehicle motion during a multi-second shutter produces a streaked, unusable frame. Step outside and find solid, still ground, even if it's just for the length of the exposure.
Underexposing out of caution
It's tempting to keep the shutter speed short out of habit from daytime photography, but a night sky needs far more light than most people expect, and an exposure that looks black on the camera's small preview screen at 1 second is often correctly exposed at 8. Trust the settings ranges above over instinct built from daylight shooting, and check a histogram if the camera offers one rather than judging brightness from the preview alone in the dark, where a screen's own brightness can trick the eye into thinking an image is brighter or dimmer than it actually is.
The kit that actually leaves the room
Pack this once, at the start of the trip, and the only decision left at eleven at night is whether the sky is clear.
- Tripod, or a beanbag and a flat rock
- Two spare batteries in an inside pocket
- Head torch with a red mode
- Lens cloth for spray and condensation
- Gloves you can operate the shutter in
- Phone on a strap or in a zipped pocket, not in your hand over wet sand
- A wide lens, f/2.8 or faster if you have one
- Cable release or the two-second self-timer
Photography Questions
Can you take pictures of the northern lights with a phone?
Yes. Most phones from the last few years handle it through night mode: brace the phone against something solid for a 3 to 10 second exposure and let the phone's own processing do the rest. If you're still deciding whether the trip out of Reykjavík is worth planning around at all, a phone shot is proof enough that a modest display is worth chasing.
How do you photograph the aurora with an iPhone?
Use Night mode, tap the moon icon to extend the exposure time if it doesn't set itself long enough, brace the phone against a wall, rock or tripod, and keep the screen dimmed between shots to protect your night vision.
What camera settings do you use for the northern lights?
Start with manual mode, f/2.8 or wider, ISO 1600 to 3200, a 5 to 15 second shutter speed, and manual focus set to infinity, shot in RAW. Drop the shutter speed toward 3 to 5 seconds if the display is moving fast, or the structure smears into a green wash.
Where do you stand in Vík for the best shot?
Víkurfjara beach puts the Reynisdrangar sea stacks in frame as a foreground silhouette; the church hill trades that for the village rooftops and catches less wind. Both sit inside the village, five to ten minutes on foot from most accommodation.
Do you need a tripod?
For camera work, close to essential; a 5 to 15 second exposure hand-held almost always comes out blurred, and a monopod doesn't fix the sideways sway that causes it. For a phone's shorter night-mode exposure, bracing firmly against a wall, rock or parked car roof is usually enough, and a lightweight travel tripod is worth carrying if you already own one.
Why does the aurora look grey to the eye and green in the photo?
A camera or phone sensor collects light continuously for several seconds; a human eye does not work that way. A display faint enough to read as a grey band overhead accumulates enough light during a multi-second exposure to show up bright green on screen, which is why a photo can look far more dramatic than what a spectator actually saw standing on the beach.
Is Reynisfjara a good place to photograph the aurora?
No. Reynisfjara has fast, unpredictable surf and no lighting after dark, and deaths have been recorded there. Víkurfjara, a different beach inside the village, is the safer option for a night shoot.
What should you wear for a two-hour session on the sand?
Layers built for standing still, not walking, plus gloves you can work a shutter in. The full breakdown sits in our guide to what to wear. If a daytime shoot suits you better, the Katla ice cave tour puts you inside blue ice with a headlamp and gets you back to the village before dark.